Roofing gutters are important for any home to collect and carry away rainwater. If you didn’t have gutters on your roof, each time it rained, the foundation of your house would be at risk of soil erosion. Most homes already come with roof gutters installed but, if not, or they need replacing, they are pretty easy to do as a home DIY job. Follow this guide for a quick step-by-step process to install roof gutters yourself.
Measure Dimensions for Snap Lines
Snap layout lines will help you to get a perfectly straight installation once you have measured the length of the gutter. Start at one end and mark where the gutter needs to begin. Put a second mark at the halfway line because the gutter you install will be one long piece.
You can allow for a downward slope of about half an inch for every 10 feet of gutters that you run. The point is to get an accurate measurement around the side of the roof. Now connect the three lines with chalk to see where you will be working.
Add Supporting Brackets
For gutters, you will use something called fascia brackets. These are steel pieces that will hold the rounded gutter in place and help keep the weight of the gutter secure. You will need one fascia bracket for every 16 or so inches so, with your chalk, mark these areas off. Once you know how many brackets you need, you can start screwing them into place.
To make the process easier, bore a one-eighth of an inch diameter pilot hole that goes through the fascia bracket into the main rafter. Once in place, tighten each fascia bracket with stainless steel lag screws that are at least two inches long.
Fit the Gutter
If you have gutter panels already cut to the right size, then you can just go ahead and fit it. Otherwise, you will need to use a hacksaw and cut the appropriate length. If you have two smaller pieces, you can still use them, but make sure that you overlap each end by eight inches and use pop rivets or self-tapping screws to hold the pieces in place. You can also consult with professional Michigan roofers such as Rock Solid Exteriors for advice, products, and service to help you with your gutter installation.
Downspout Holes and Finishings
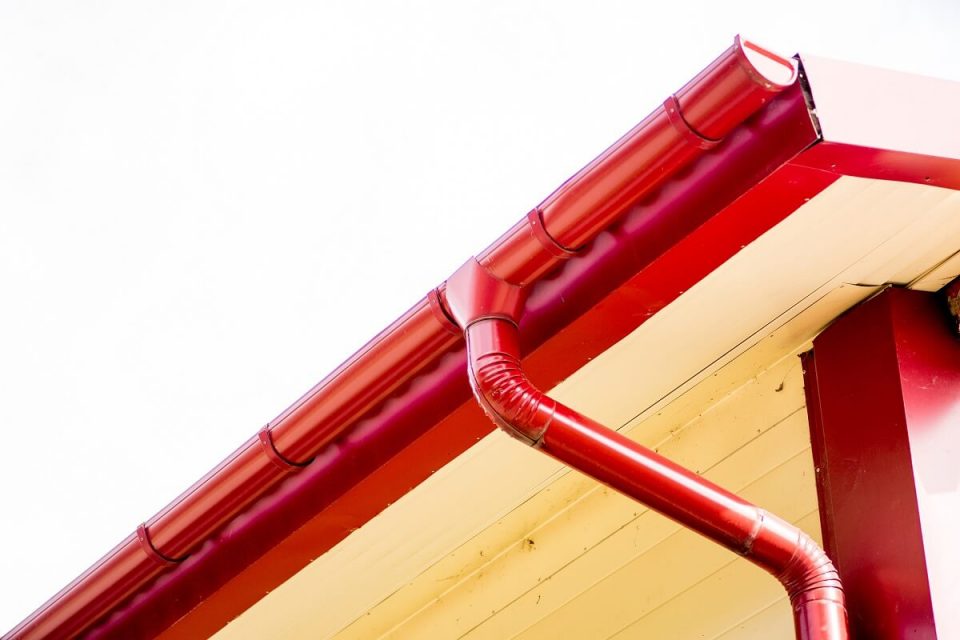
You need an outlet where collected rainwater can run off. Trace a circle with chalk along the bottom of the gutter where the downspout will connect. Next, you need to cut the hole so that the two fit together exactly.
It’s best to work with a four-inch hole saw so you can take out small pieces at a time. This will avoid cutting a hole that’s too big. Once fitted, your gutter will still be open on the ends so you need to connect and screw in the spherical caps on either side. Now, all you need to do is put the gutter in place and pop rivet it securely.
Roof gutter installation is fairly easy once you know the basics. Follow these steps to get started and have your gutters looking as good as new.